When you create an offering for flexible classes (with different start dates) on Exly, you are offering to teach weekly, repeating lessons to single or multiple batches. While the duration of the entire course will be the same for everyone, the enrollees (end-users) will have different start dates based on when they pay for the class. The duration can be specified in weeks, months, or sessions.
Here’s how you can create Flexible Classes on Exly within 3 minutes:
Step 1: From the Create an Offering page, go to the Flexible Classes card and click on the Start Creating button.

Step 2: Fill in the details in the mandatory fields - add a title and price - for the flexible class, and then click on Next.
If you already have a similar offering, you can choose to duplicate that and make this process simpler.
Step 3: You will be redirected to a new page wherein you will have to fill out more details about the offering like the title, class location, course duration, duration of each class, etc.

There’s a default cover photo for every offering you create but if you want to personalize the offering and change the default photo, then you can do that by clicking on the Change Cover Photo option. You can either upload an image from your device or search for a stock image.
As for the Title, you can choose to keep the same title that you added in the previous step or edit it on this page.
In the Class Location field, you can choose the option that works the best for you.

If you select the Google Meet option, a meeting link will get generated automatically. Make sure when you are using one of your own devices when you select this because the link will be generated from your Google Meet account.When you are creating an offering for the first time, you will be asked to Sync Exly with your Google Calendar, if you haven’t already done that using the Integrations tool.
If you select the Zoom option, a meeting link will get generated automatically, and you will be asked to log in to your Zoom account as a one-time activity.
If you select the Online Meeting Link option, you can manually add the meeting link and password.
If you select At My Personal Address option, you will be asked to add your complete address.
If you select the At Customer’s Address option, the customer will be asked to provide their address as and when they make the booking.
If you select the Phone option, you will have to provide your phone number.
And lastly, if you select the WhatsApp option, you will have to add the phone number that’s available on WhatsApp.
Now, add the schedule details like the course length in weeks/months/sessions, the duration of each class/session in hours and/or minutes along with the weekly class schedule of that specific batch.

You can also copy the time from one day to other days.
You also have the option to add multiple batches. Simply click on the Add New Batch button to add a new batch.
Leave the space empty if there is no class on a particular day.
Step 4: You can choose to put a limit on the number of students that you are willing to teach/coach per
batch.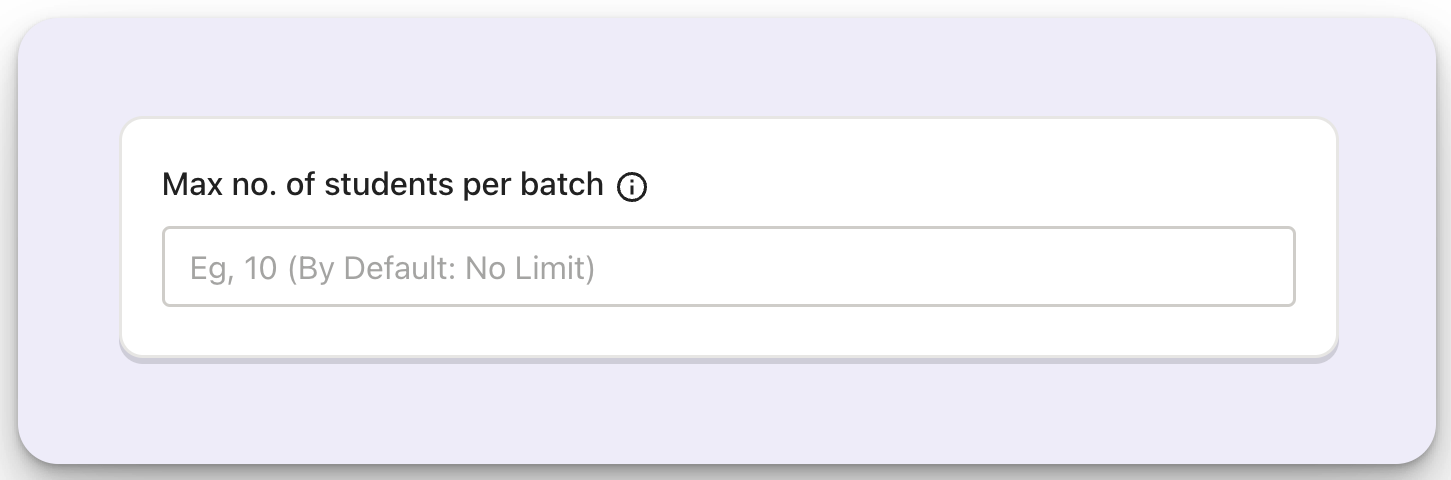
Remember that for flexible classes, the session for each enrollee starts once they pay for the classes and might differ accordingly. However, the duration of the entire course remains the same.
Step 5: Click on the Next button to save the added details.
To streamline class management, we've added a feature that tracks your schedule and alerts you of any time conflict when scheduling a new class.
If a conflict is detected after clicking Next, you can choose to Proceed Anyway or edit the batch timing. This integration eliminates manual schedule cross-checking, allowing you to focus on providing an exceptional educational experience.
Step 6: Now, on the Pricing page, you will have to fill in more details. You can choose two options when setting your payment
One-Time Purchase lets the customer to pay for a class once and get access to it.
Subscription allows you to set up recurring payments for your classes or courses. You choose the frequency (weekly, monthly, etc.) and amount to match your offering's duration. For example, a 4-week class can have a weekly subscription fee.

The price that you added for the offering on the first page will automatically appear in the Price field. However, you can always edit it. Make sure you add the pricing details in INR (Indian Rupee) only.
If you’re on the paid plan, you are willing to offer the product or service (or offering) to international users as well, then you can simply select the checkbox under the pricing field. When you do that, make sure to add the pricing in USD (United States Dollar).
In case of subscription, you can also enable auto debit for international customers. This will ensure that the amount of the offering is deducted from your customer's account as soon as their subscription cycle ends. Note that this feature is currently in Beta. If you're interested in accessing this feature, please mail us at support@exlyapp.com to get early access.

Each time an offering is bought on Exly, there’s a booking fee that gets added to the price. However, you have the option to choose who will bear that booking fee - you (the creator) or the end-user. You can choose the preferred option from the drop-down menu.

The breakup of the sub-total - the booking fee, internet handling fees, GST, and total payable for both domestic and international users will get auto-generated.
Although adding a class description for the offering is optional, it is always a good idea to give a brief description or highlight a couple of key points that you would be discussing during the session. Not only does it give the enrollees an idea of what they are signing up for, but it also helps the creator focus better and be well-prepared for the session.
You can format the text and even add tables in this description.
To make your offering more descriptive, you can add highlights and requirements too. This information provides a brief overview of the key focus areas and benefits, allowing potential participants to better understand what they can expect from each session.

Lastly, if you’re on a paid version, you also have the option to assign this offering to any of them. The offering will, however, be assigned to you (the creator or owner) by default.

Step 6: Once you have made all the changes, click on Next. You will be redirected to a new page where you can review all the details added.
Step 7: After reviewing the details of the offering, you can either Publish the offering right away or click on Edit to make more changes.
Step 8: Once you publish your offering, a confirmation screen will appear along with the Invite Link.
You can either copy the invite link directly and share it with the clients manually, invite them via emails, or share the offering directly on social media like Facebook, WhatsApp, or Twitter.
All your published and/or draft offerings will appear on the right side when you click on the Create/Edit Offerings option.
You can share (only live or published offerings), edit, or delete any offerings from this page.
Step 9: Upon clicking the Share button, you can either Copy the offering page link directly and share it with your customers manually, or share it via email or as a post on social media like WhatsApp, Instagram, Facebook or Twitter.
Not just that, you can also easily Copy the Payment Page link and share it with your customers to take them directly to the checkout page. This makes the checkout process smoother and helps improve conversions.

These checkout pages are fully customizable. You can even add multiple order bumps to encourage additional purchases and boost your revenue.
In fact, when you also share the Renew Link with anyone, it will redirect them to the checkout page to streamline the renewal process for returning learners.
.
Was this article helpful?
That’s Great!
Thank you for your feedback
Sorry! We couldn't be helpful
Thank you for your feedback
Feedback sent
We appreciate your effort and will try to fix the article