Branded communities on Exly offer you a dedicated space to connect with their audience, share exclusive content, and foster engagement. This guide provides step-by-step instructions on creating, customizing, and sharing a branded community on Exly.
What is a Branded Community?
A branded community is a customizable, private space where you can:
Share exclusive content, including videos, posts, and downloadable resources
Build engagement through comments, polls, and discussions
Offer bonus content that adds value to your main offerings
Create a sense of belonging and interaction among community members
Here’s a step-by-step guide to help you create a Branded Community on Exly:
Step 1: From the Create an Offering page, go to the Communities card, click on the Branded Communities button, and then click Next.
Step 2: Fill in the details in the mandatory fields - add a title and the community price, and then click on Next.
If you already have a similar offering, you can choose to Duplicate that and make this process simpler.
Step 3: You will be redirected to a new page wherein you will have to add more details like a cover photo for the offering, community title, community description, and any bonus offerings.
There’s a default cover photo for every offering you create but if you want to personalise the offering and change the default photo, then you can do that by clicking on the Change Cover Photo option. You can either upload an image from your device or search for stock images.
As for the Title, you can choose to keep the same title that you added in the previous step or edit it on this page.
Add a description to let your customers know important details about your community. Although adding a Community Description is optional, it is always a good idea to give a brief description of what the community serves to solve so that it gives the customers an idea of what they are signing up for.

To show appreciation to the people opting for your community, you can add bonus offerings. These can either be sold for free or at a discounted price. When the user enters the community, they can access these benefits from the Bonus Offering section.

Once you have added all the details, click on Next to save the progress.
Step 4: Now, on the Pricing page, you can edit the price of the community, who will bear the booking fees, a brief description of the community, highlights, requirements, and more.
For the Payment Type, you get two options:
Lifetime access: Here, the customer will pay a one-time access fee and be part of the community forever.

Subscription: The customer has to subscribe to your community and pay a fee after the set interval of time to keep being part of the community. Simply enter the price, payment cycle (time period for repeating the payment) and the start date of the subscription (optional).

Note: If you’re on the paid plan, you are willing to offer the product or service (or offering) to international users as well, then you can simply select the checkbox under the pricing field. When you do that, make sure to add the pricing in USD (United States Dollar).
In case of subscription, you can also enable auto debit for international customers. This will ensure that the amount of the offering is deducted from your customers' account as soon as their subscription cycle ends.
If you're interested in accessing this feature, please mail us at support@exlyapp.com and we will enable this for you.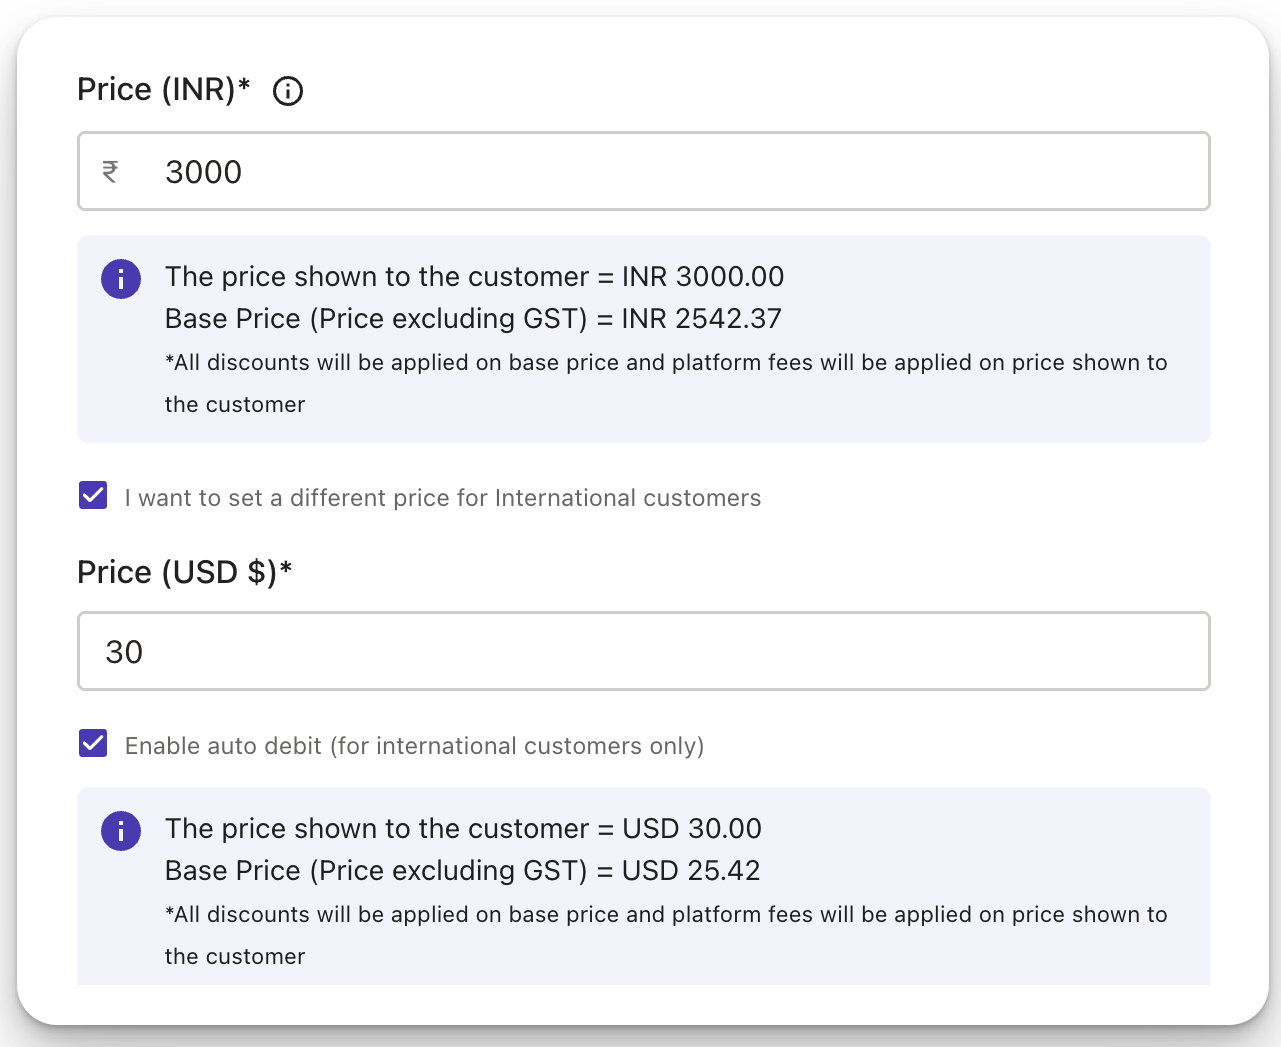
After adding the payment details, choose the booking fee. Each time someone pays for a community on Exly, there’s a booking fee that gets added to the price. However, you have the option to choose who will bear that booking fee - you (the creator) or the end user. You can choose the preferred option from the drop-down menu.
The break up of the sub-total - the booking fee, internet handling fees, GST, and total payable for both domestic and international users will get auto-generated.

Although adding a Community Description is optional, it is always a good idea to give a brief description of what the Branded community serves to solve so that it gives the customers an idea of what they are signing up for.

Similarly, you can also mention some Highlights and Requirements (both optional) for the customers. All this information will eventually help your customers get clarity on the value your community will bring to them.

If you’re on the premium plan and have team members added to your Add/Manage Staff tab, then you also have the option to assign this offering to any of them. The offering will, however, be assigned to you (the creator or owner) by default at first.

Step 5: Once you have made all the changes, click on the Next button. A window with all the information for your Branded community will open. After reviewing the details of the community that you have just created, you can either Publish it right away or click on Edit to make more changes.

Step 6: After reviewing the information, click next to optimise your community experience. You can Publish the community now and manage it later as well.

Step 7: To enhance the user experience and optimise your community, click Manage Community button.
This is what your community currently looks like.
On the left side you’ll see:
Feed: the main feed with all the posts, polls, and interactions
Members: where you can see all the members who are part of the community. You can choose to hide the total member count from your community members.*
Bonus Offerings: The offerings you’re providing for free or at a discounted price. You can even strategically position these offerings to maximize conversions and user engagement.
You can reorder theses bonus offerings through the community creation flow.Direct Message: chats of people you’re in contact with.
* To hide the total member count, click the Edit icon next to the Members section in Access Community, and toggle the setting to hide the count.*

For each of these sections, you can click on the pen icon and change the name. You can also add an icon by pasting it in the respective field.
In this same section, you can also add a link. This link can redirect to any Google page, article, blog, video etc. If will be pinned for all the customers who are using this community.
You can also add specific channels to keep the conversations simple and categorised. An introductory Get Started channel has already been created for you with 3 channels - Welcome Aboard, Introduce Yourself and Announcements.

Click the Add Channel icon to add a new channel in this group. You can choose if you want this channel to be:

Chat: All members will be able to interact with each other, create a post and interact. The outlook will be like that of a chat screen.

Post: You can publish a post, share media and other will be able to view it in an interactive feed.

After choosing the channel type, add in the channel details in the form that opens. Enter the name of the channel and set the Access criteria.
Open: The channel will be accessible to everyone. All the members will be able to view it
Private: Only invited members will be able to see this channel. People who have not been invited will se a locked screen with a message that you can optimise.
Secret: Only invited members will be able to see this channel. People who have not been invited will not be able to see this channel.
Here, you also have the option to enable or disable commenting in your channels and feed. All you have to do is click the toggle button to select the desired option.
For a post type channel, you can choose if you want to allow customers to post as well. You can also add a custom cover image for the channel. The recommended size of the image is 2000 x 720 pixels.
You can also create a new group to separate the channels. After creating the channels, you can also drag them to change their order.
You can create a post by clicking on Create a Post and entering the message. In the post, you can also add images, videos, offerings, and documents. When adding images or documents, you can add more than one media file to offer your community members a gallery of images or multiple documents at the same time.
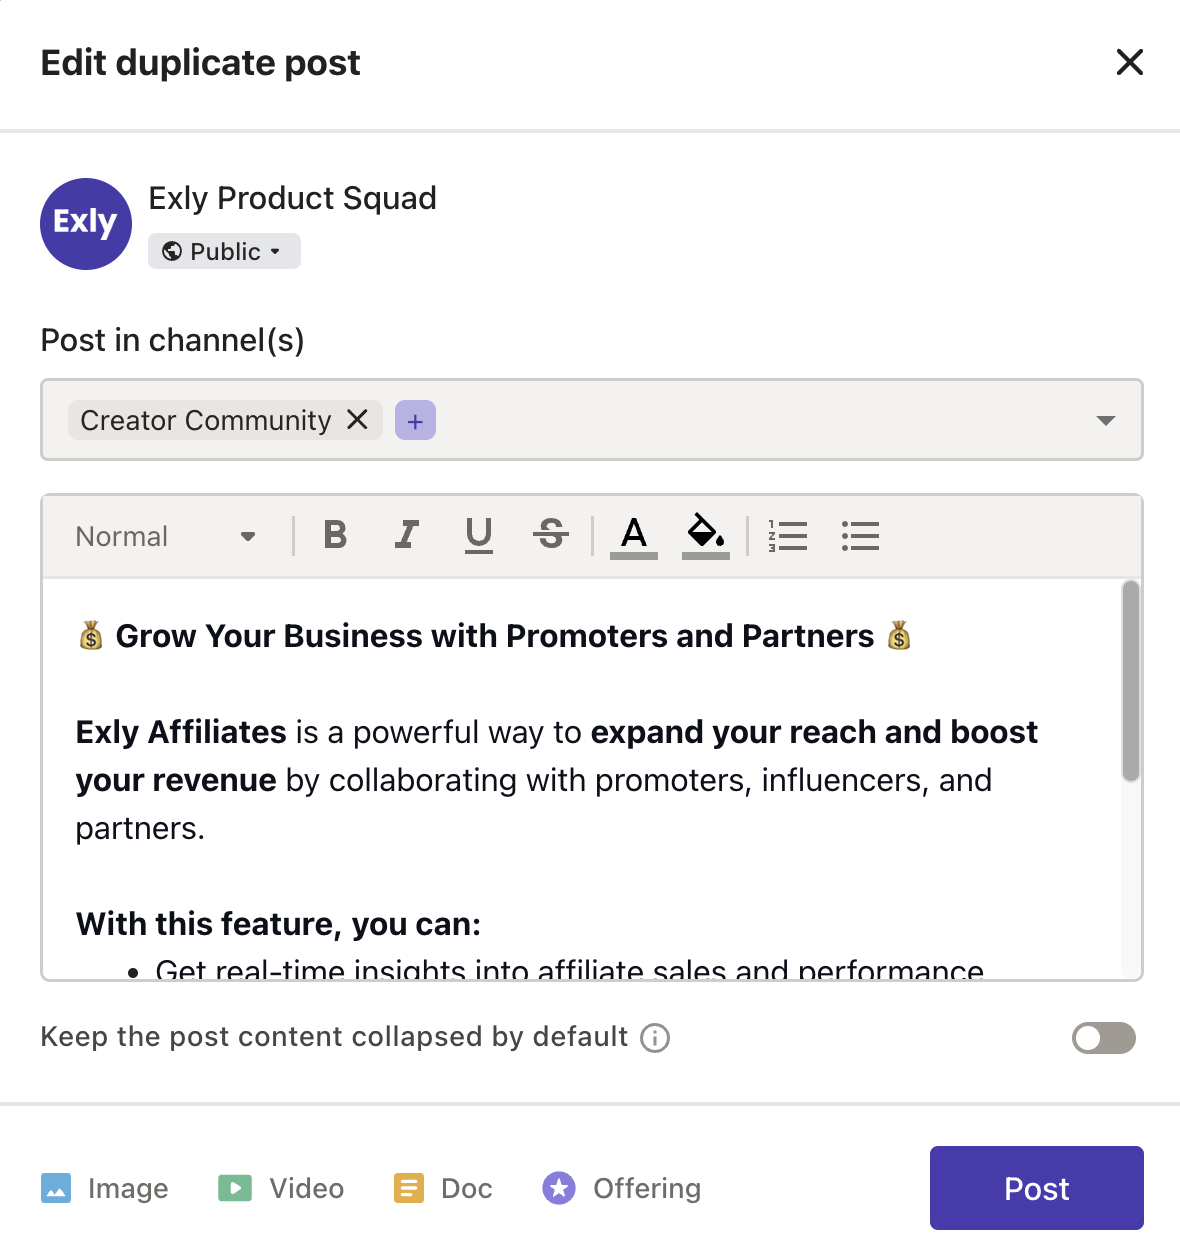
You can easily share posts across multiple communities by duplicating the desired post and choosing all the locations (channels/communities) where you'd would like to publish that post.
Simply use the three-dot menu to duplicate, edit, and select communities to repost.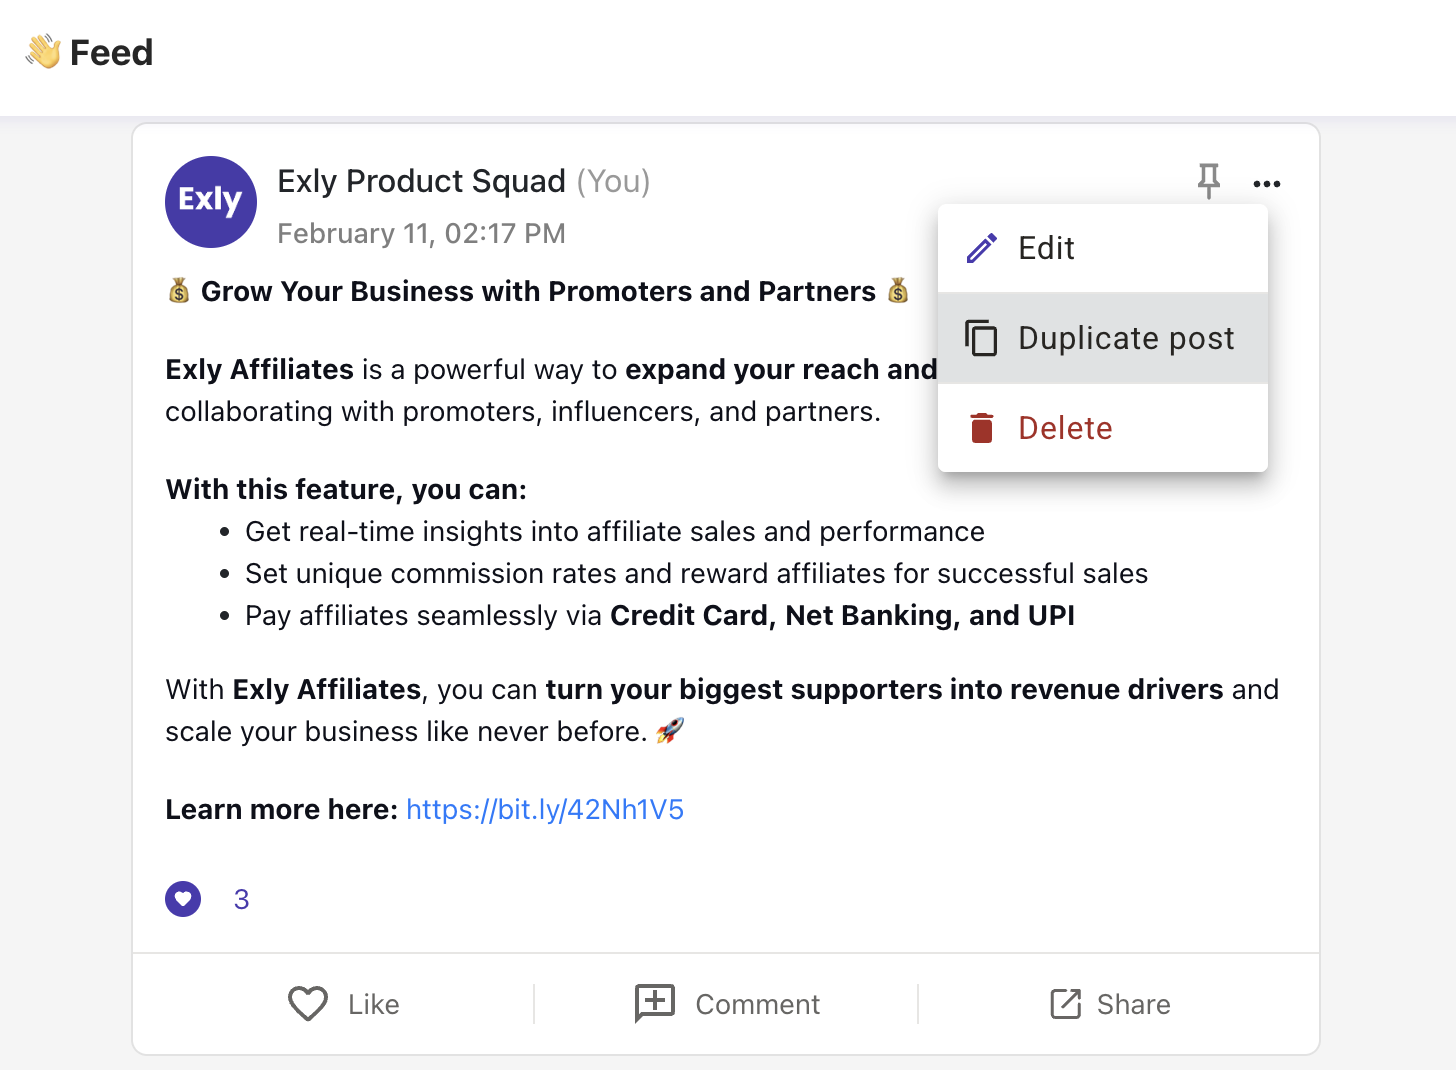
You can even create a Poll-type post from here. Just click on the Poll icon, fill in all the details like your question, poll description, and add the poll options. You can choose whether the community members can choose single or multiple options. In fact, you also have the option to set an expiry date for the poll and decide whether or not you wish to allow the users to change their vote after submission.
Upon successfully adding all the details, just click on the post button.
Not just you, your community members can also initiate engaging conversations with their own polls.
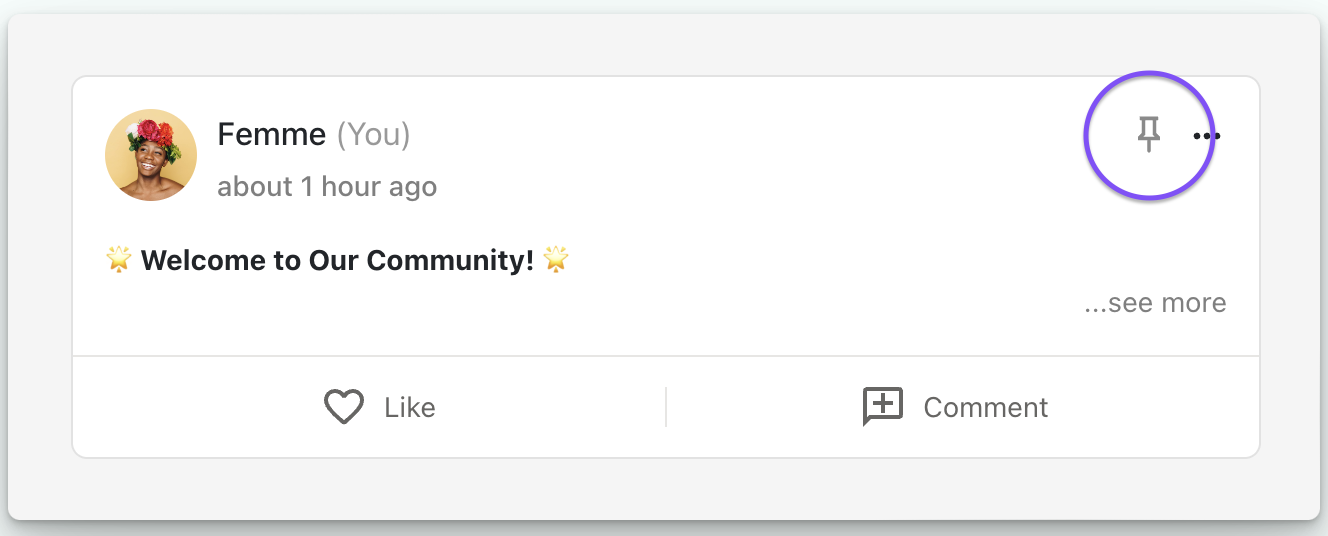
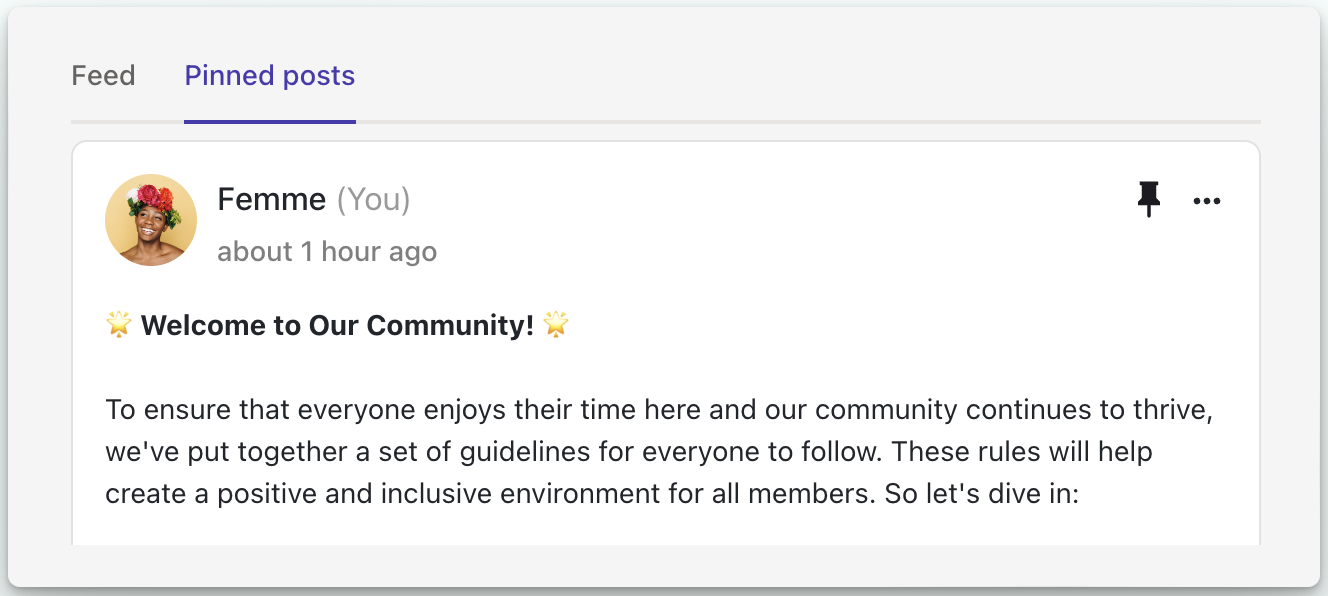
You can even pin some posts in a post-type channel. Pinned posts are posts you don't want the community members to lose in the mix, and pinned posts can help you welcome and onboard new members in the community!
To create a pinned post, create a post and click on the 'Pin' icon at the top-right of the post. Now, the posts will remain pinned to the top and expanded at all times, making them easily accessible to all members.
If a channel has some pinned posts, all new community members will first land on the pinned posts tab whenever they visit that channel for the first time. This makes sure that your pinned posts are seen and acknowledged immediately.
With all these cool features for you to keep your community updated, connected, and engaged, we also let you and your community members share the posts via a link.
For posts marked:
Public – Anyone can view the post without interacting. This can be used to bump your community signups by creating a sense of FOMO.
Community-Only – The users must log in or purchase access to view and interact with the post. This will help you keep your posts and content private.
Upon clicking the shared link, the logged-in users will be redirected to the post, while the non-logged-in users will be prompted to log in or purchase access before viewing.
We are committed to maintaining a safe and positive space for everyone in the community. With the Content Flagging feature, your members can report inappropriate content or flag anything they believe requires your attention. Currently, posts, comments, and group messages shared by any user or creator can be flagged. While flagging content, members must also provide a reason for their action.

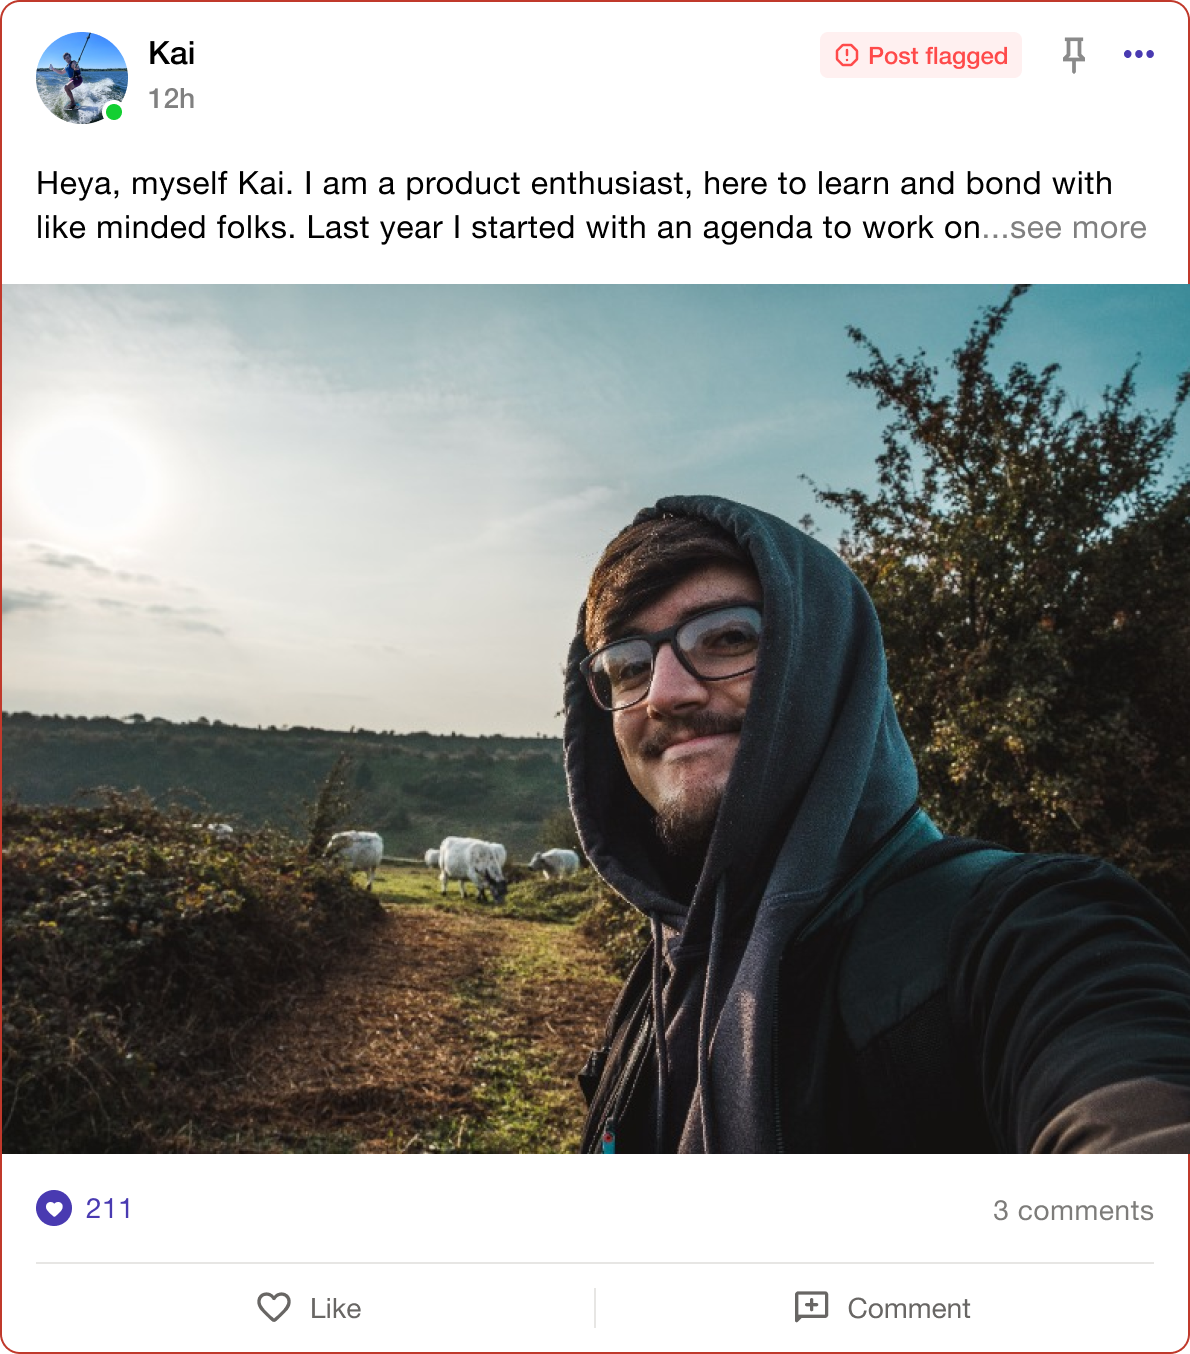
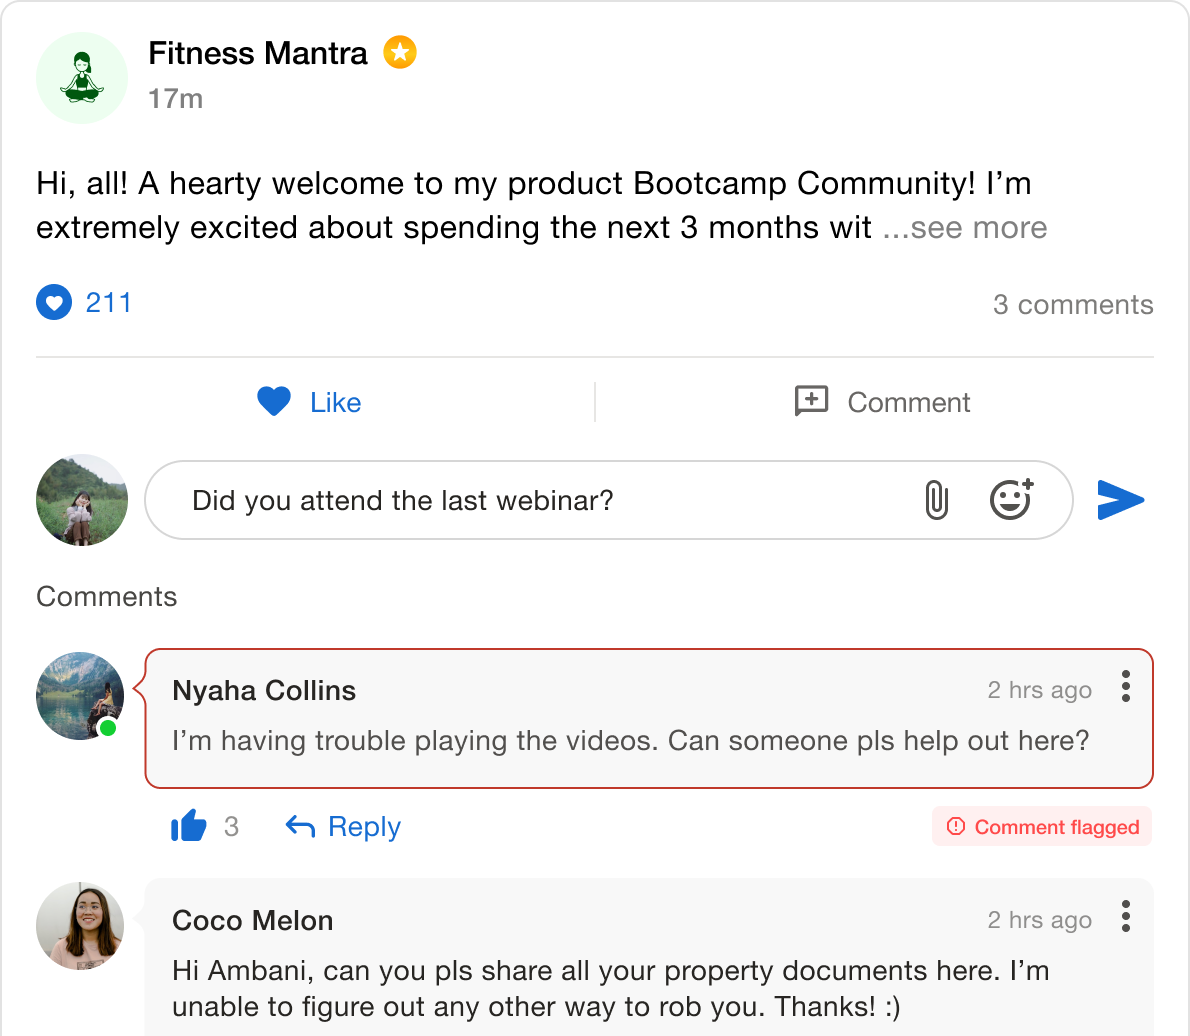
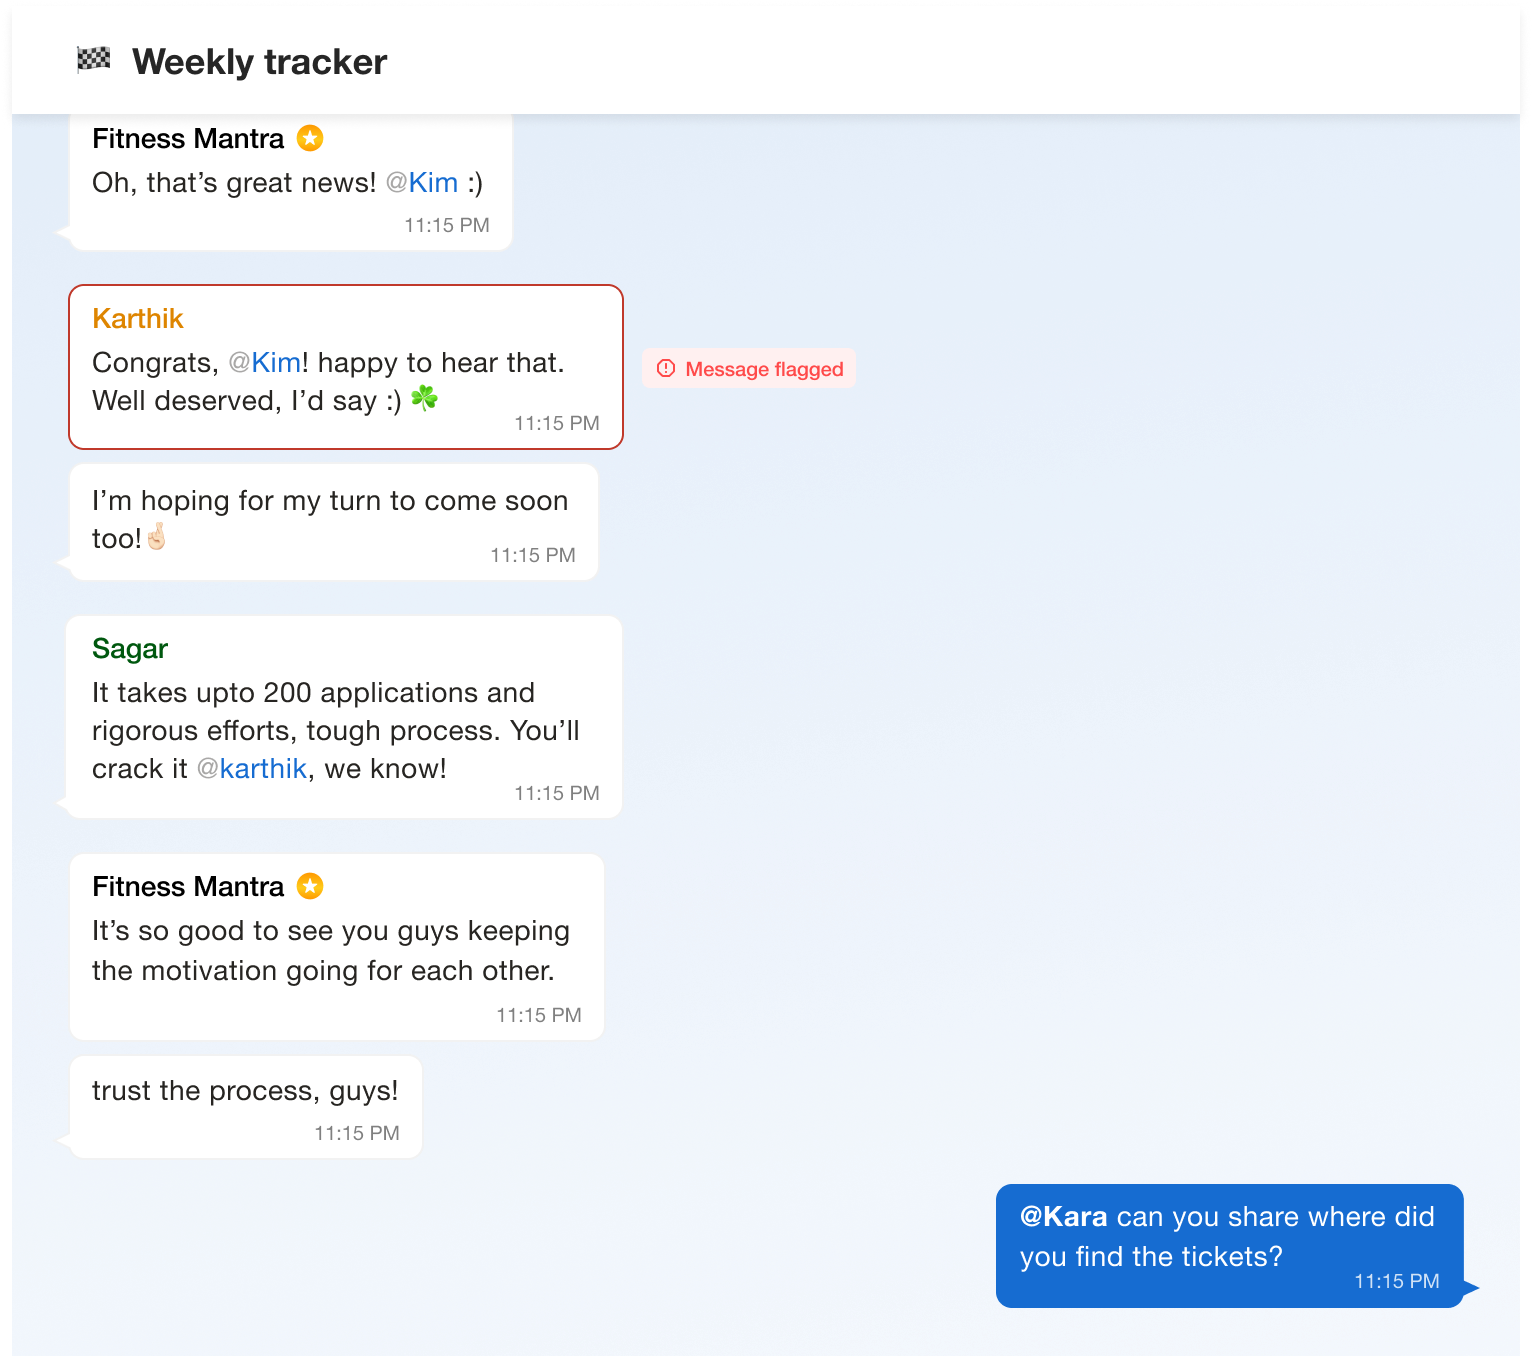
You can then review the content and take appropriate action.
If required, you can also revoke access to a community for a customer. To do so, follow the below-mentioned steps:
- Visit the 'All Customers' view.

- Click on the name of the respective customer (for whom the access is to be revoked)
- Visit the 'Activity' tab and click on 'Community access validity'

- Navigate to the community where you want to revoke the access and click on 'Change expiry date'.

- Set the access expiry date of your choice and click on 'Update'.

The customer's access will be revoked immediately. (They won't be notified of it).
Similarly, if you need to extend the customer's community access, you can add a future date and click on 'Update'.
Additionally, you also get an option to copy the checkout page link and share it with your customers.

The checkout page automatically picks the description you've added to the offering. By entering only the purchase details such as name, email & number, you can now easily take payments from your customers and grow your business.

Note: Exly calendar is now synced for workshops, webinars and appointments. For example, if you have an appointment available from 9AM to 9PM and then you also have a workshop from 6-9PM, then automatically your appointments available will be from 9AM-6PM. Similar is the case with webinar.
Was this article helpful?
That’s Great!
Thank you for your feedback
Sorry! We couldn't be helpful
Thank you for your feedback
Feedback sent
We appreciate your effort and will try to fix the article