Exly lets you bring your community together on a single platform with Telegram. All you need to do is sign in to your Telegram account and let ExlyBot do the rest! It runs in the background to ensure that your customers never miss any updates from you.
Here’s a step-by-step guide to help you connect your existing Telegram communities and even create a new Paid Telegram Community on Exly within 3 minutes:
Step 1: From the Create an Offering page, go to the Communities card, select on the Paid Telegram Communities button and click Next.
Step 2: Fill in the details in the mandatory fields - add a title and price , and then click on Next.
Step 3: You will be redirected to a new page wherein you will have to add more details like a cover photo for the offering, community title, community type - Telegram Group or Telegram Channel, and membership type - lifetime access or subscription.


Step 4: If you choose Subscription as the membership type, then you will be further asked to select the Payment Cycle along with the Start Date of this subscription. The Payment can be set in days, weeks, and months.
 Subscription-based communities can be set for a minimum 7-day period.
Step 5: Once you have added all the details, click on Next to save the progress.
On the right side of this page, you will see a Preview of how your offering will appear to the end users.
Step 6: Now, on the Pricing page, you can edit the price of the community, who will bear the booking fees, a brief description of the community, highlights, requirements, and more.
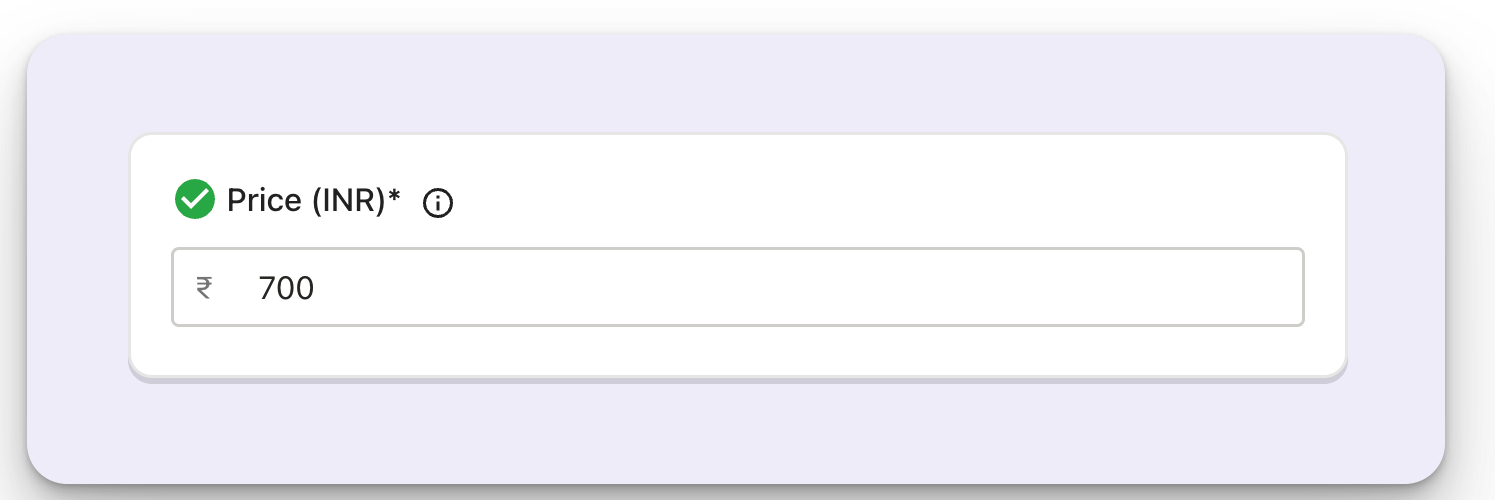
The price added for the community on the first page will automatically appear in the Price field. However, you can always edit it. Make sure you add the pricing details in INR (Indian Rupee) only.
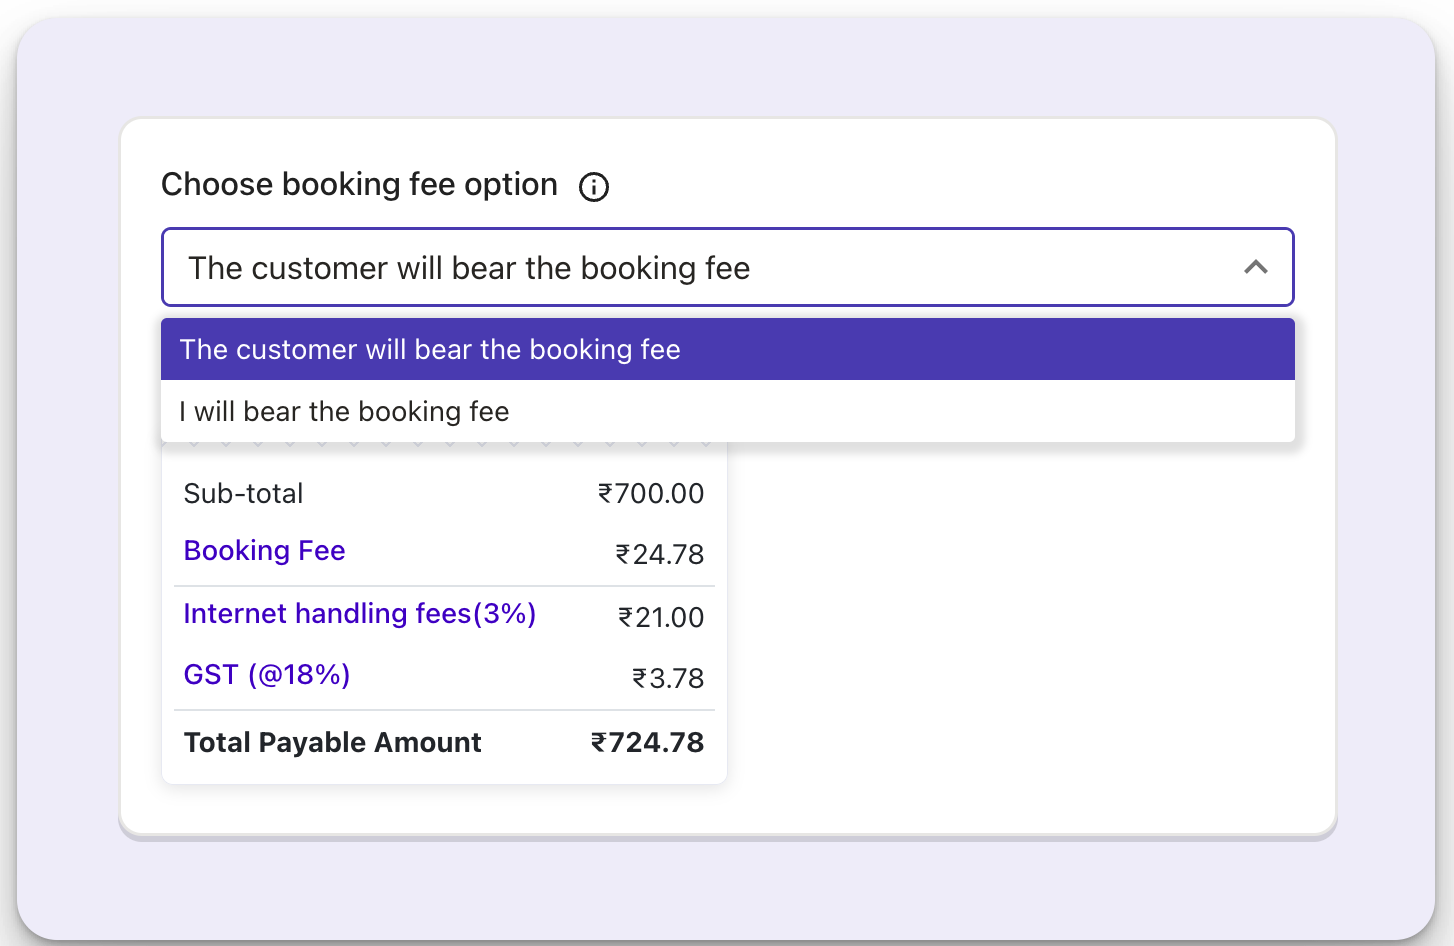
Each time someone pays for a community on Exly, there’s a booking fee that gets added to the price. However, you have the option to choose who will bear that booking fee - you (the creator) or the end user. You can choose the preferred option from the drop-down menu.
The break up of the sub-total - the booking fee, internet handling fees, GST, and total payable for both domestic and international users will get auto-generated.
Although adding a Community Description is optional, it is always a good idea to give a brief description of what the Telegram community serves to solve so that it gives the customers an idea of what they are signing up for.
Similarly, you can also mention some Highlights and Requirements (both optional) for the customers. All this information will eventually help your customers get clarity on the value your Telegram Communities will bring to them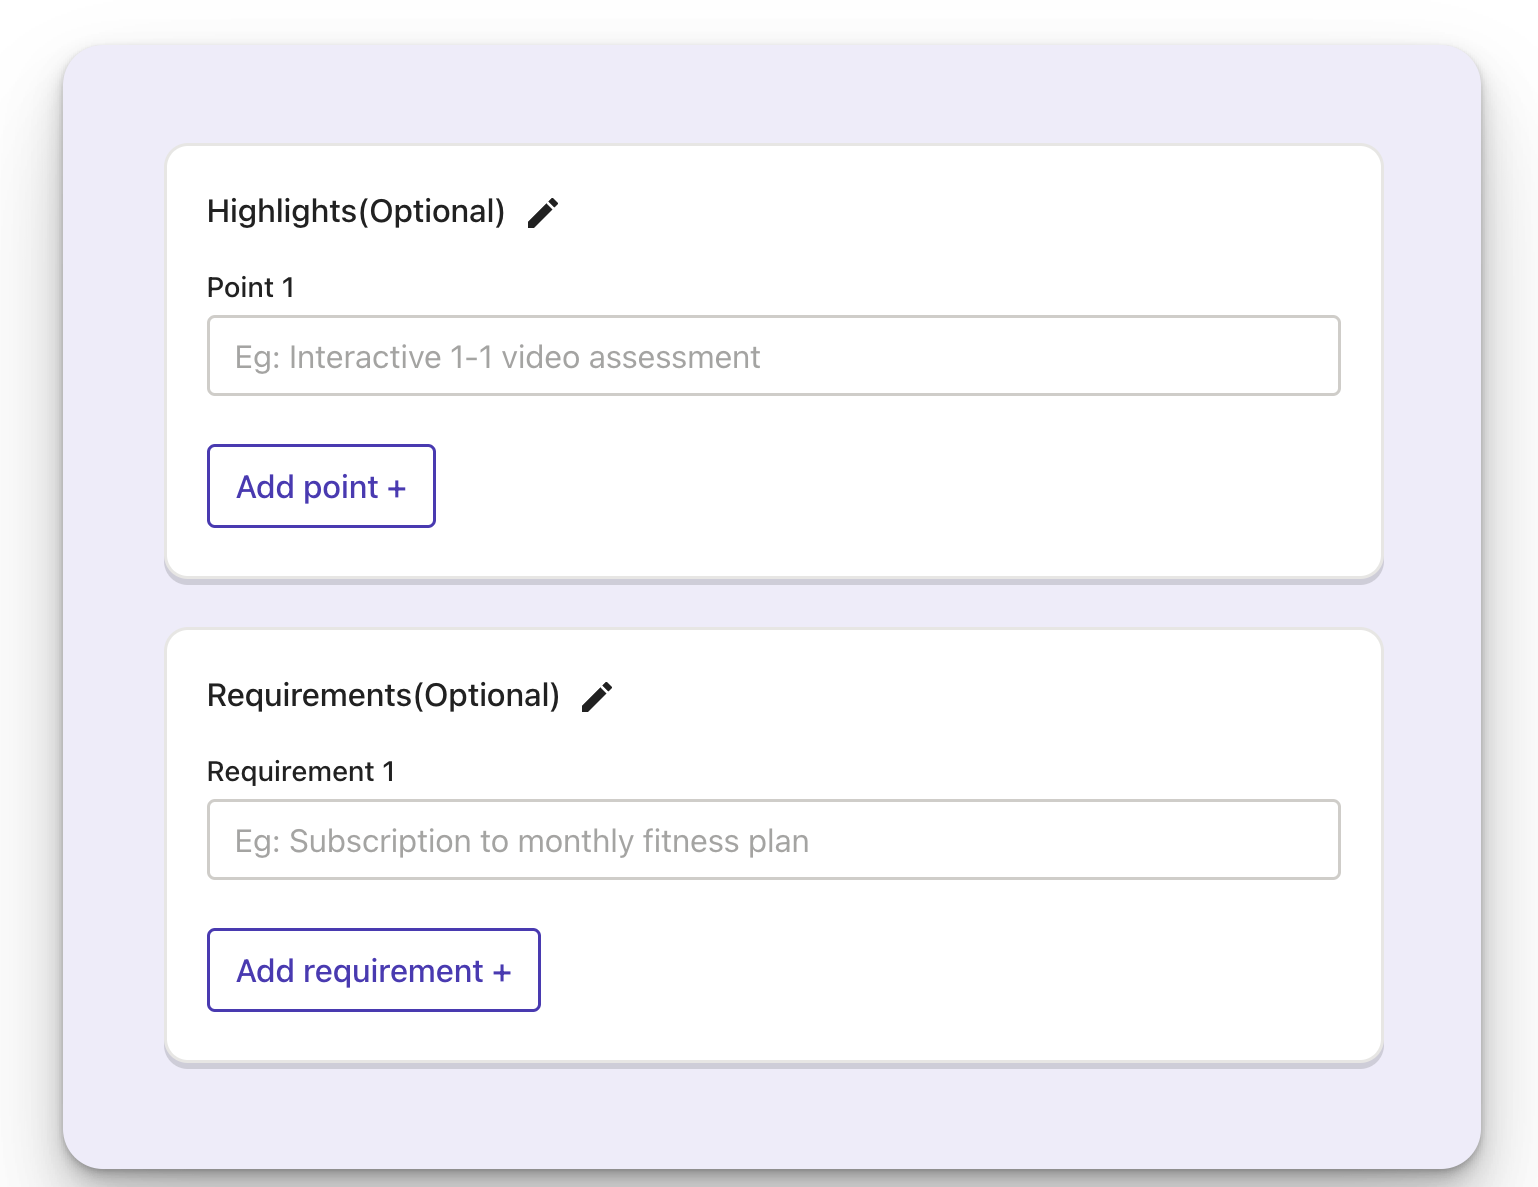
If you’re on the premium plan and have team members added to your Add/Manage Staff tab, then you also have the option to assign this offering to any of them. The offering will, however, be assigned to you (the creator or owner) by default at first.

Step 7: Once you have made all the changes, click on the Next button.
Step 8: Now, you will be asked to connect your Telegram account with Exly.
First, click on the Connect button and an OTP will be sent to your registered number.
Once you enter the OTP successfully, you can either create a new, private channel or select an existing one.
In case you don’t see a channel there hit Refresh.
After selecting the channel of your choice, you can finally:
Initiate The Connect
i.e., give Exly permission to manage the people within the selected channel. This will further allow you to add Exly Bot to your channel, make it an admin of the said channel, and also extend the permission to add/ban members to the channel.
Quickly review the added details to make sure that everything is in order, and finally click on the Next button.
Note: Once linked to a community, the Telegram number is tied to your account and won’t require re-authentication for additional communities. A Telegram number can only be linked to one creator account at a time.
Step 9: After reviewing the details of the Telegram Community that you have just created, you can either Publish it right away or click on Edit to make more changes.
Step 10: Once you publish it, a confirmation screen will appear along with the Offering Link.
Your published offering will appear under the Live Offerings tab of the Create/Edit Offerings page.
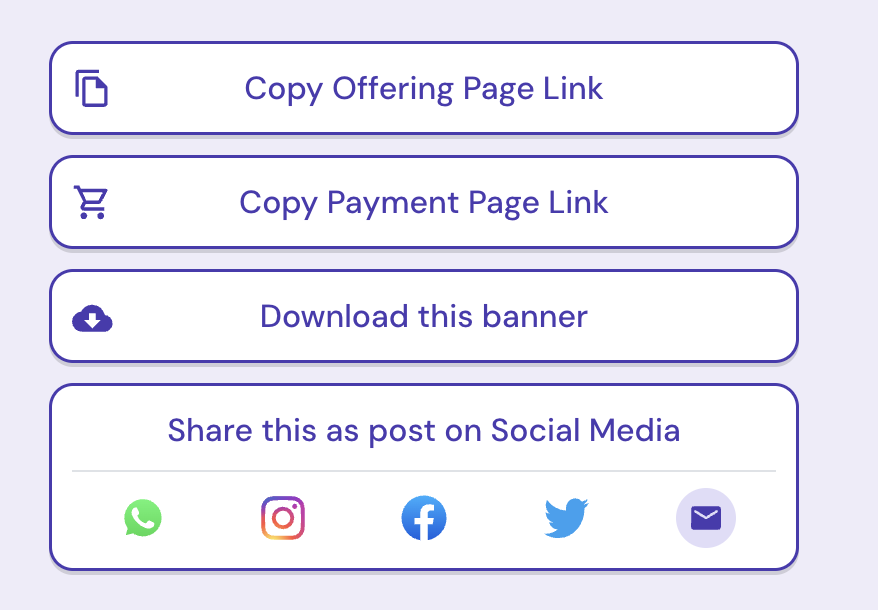
Upon clicking the Share button, you can either copy the offering page link directly and share it with your customers manually, or share it via email or as a post on social media like WhatsApp, Instagram, Facebook or Twitter.
Not just that, you can also easily copy the Payment Page link and share it with your customers to take them directly to the checkout page. This makes the checkout process smoother and helps improve conversions.
These checkout pages are fully customizable. You can even add multiple order bumps to encourage additional purchases and boost your revenue.
Your customers can join the community using the provided joining links, either immediately after completing their purchase or later, depending on the start date set when creating the community.
- Immediate Link is generated if your community has no future start date, this ready-to-join link will be visible on the Thank You page itself.
- A message stating that the joining link will be shared closer to the start date is displayed on the Thank you page, in case a future start date is present.
Please note: All the joining links are one-time valid for 24 hours and are shared via Email and WhatsApp.
Was this article helpful?
That’s Great!
Thank you for your feedback
Sorry! We couldn't be helpful
Thank you for your feedback
Feedback sent
We appreciate your effort and will try to fix the article