Make your webpage look more personalized and in sync with your branding by changing the appearance and adding more details to your Exly webpage. Check out this easy-to-follow guide to revamp your webpage and get the desired look:
Step 1: On the Creator Tool page, go to the Manage Webpage menu, and click on Create/Edit Webpage.
Step 2: You will be redirected to a new screen wherein you can update your website page, make changes to the Appearance of your webpage, and even Reorder Listings.

Edits on My Page:
Create Your Webpage Address
On the left sidebar of the Manage Details webpage, under My Page, there’s a Your Website Address section wherein you can edit the web address if you want.
While changing your address, you’ll be able to see if the subdomain name is available or not.
Click on Save after making the changes. Remember this can be changed at any time.
Header
Click on Header and fill in the required details like adding in the Logo Text or simply uploading your business’ logo by clicking on the Select Logo Image button.
If you have an image for the logo, you can upload it directly from your device. However, if you don’t, you can look up a suitable image by typing in the keywords in the text box.
Recommended format for the logo are: 250 X 60 pixels (PNG or JPG)
Logo Text will only be shown if no Logo Image is set. If none of these is set, the Page Title will be used by default.
Once you’re satisfied with the changes click on Save.
Cover Photo, Text, and Button
This section allows you to edit the Cover Image, add Text (Page Title and Short Bio), and a Get In Touch button which can be used by your customers to raise a request/query.
You can choose to upload the cover image from your device or use the stock photos too.

The recommended size of the image is 2160 x 1170 pixels. Ensure that the file is either a PNG or a JPG.
Text
Type in a title and bio that aptly explains what your business is all about. This will help the end-users understand what you do and give them an idea of the products/services you offer.

Get In Touch button
Add text for the Get In Touch button in this field. This will show up on your webpage and the customers can click on this button to reach out to you with their requests and/or queries.

Once you have added in all the details, click on Save and move to the next section.
About Me
You can upload a Display Picture, add Your Name, and share a little bit about yourself and your business in the About You section under this tab.
For the Display Picture, you can either upload an image from your device or search for an image on Unsplash.
The recommended size of the image is 250 x 250 pixels. Ensure that the file is either a PNG or a JPG.
In the About You section, you can add a brief description of your business and yourself explaining your journey, your qualifications, what drives you, etc.
Click on Save once you have made the required changes. All the changes will appear on the preview page in real-time.
Social Media Links
Every business's social media presence is vital, and it is essentially what most creators rely on to reach out to a larger audience and expand their customer base.
Exly understands the importance of the same thus when building your webpage, you have the option to add the links to all your social media pages - Instagram, Facebook, Twitter, YouTube, and more.
You can add the social media links of all the listed platforms, however, it is not necessary to fill all of them. The added social media links with show up as icons under the About You section on your webpage. The customers can click on these icons and will be redirected to that specific social media page.
Click on Save to complete the process.
Contact Details
Add a phone number that the end-users can use to get in touch with you. You can choose whether or not you wish to be contacted, and if you do, then when and which is your preferred mode.

Click on Save to complete the process.
Testimonials
Testimonials help build trust and validate a creator's credibility especially when viewed by new customers.
More often than not, they base their decision on whether they want to purchase a product or sign up for an offering from you or not after reading the reviews and experiences of past customers.
It's advisable to add testimonials to your webpage if you have received appreciation or feedback from your customers.
You can even choose to call these testimonials anything but that. Some examples of the same - Reviews, Praise, Let's Hear It From Our Customers, etc. You can also edit/delete the testimonials using the three dot menu.
Click on the Add testimonials button, and fill in all the required details in the format of your choice - Text, Image, and Video.
Text: Here you can upload a customer's photo, add their name, and their comments about your offering.

Image: Here you can upload a customer's photo, their name, the main image (transformation/reaction image), and their comments about your offering.

Video: Here you can upload a customer's photo, their name, and a link to the customer's video (it can be a YouTube video or any other link), and their comments about your offering.

Once you have made all the changes, click on Save to complete the process and save the progress before moving to the next step.
Portfolio
The Portfolio section is used to display images and videos of happy customers, give a quick demo of what the offerings are about, how your offerings are different from the competitors, and basically any media files (images or videos) that can be used to attract potential customers and thus expand the customer base.
You can also change the heading from Portfolio to something different such as Previous Works, Creative Work, Previous Projects etc
Entries can be edited/deleted by using the three dot menu icon.
Click on the Add new item button to upload an image or a video along with an optional caption.
Editing Appearance:
Under the Appearance tab, you can add and make changes to the Logo and Branding and play around with the Colour Palette of your webpage to give it a more vibrant and on-point look - something that resonates with your brand principles, vision, and more.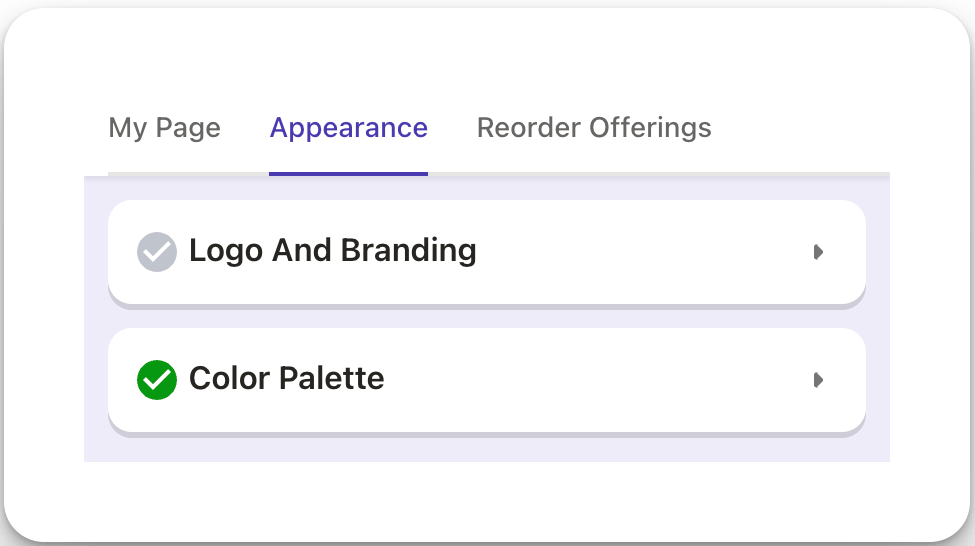
Logo and Branding
You can add a Logo Image, Tab Title, Tab Icon, and choose a Font Family for your webpage all under this section.
Remember that while adding a custom icon, the recommended format is 250 × 60 pixels (PNG or JPG)
You can also choose a tab icon with a recommended format: 100 × 100 pixels (PNG or JPG)
Lastly, you can change the default font and choose from 5 given fonts namely: Ubuntu, Lora, Source Serif Pro, Rubik, Open Sans.
Selecting a brand font will automatically apply it in all necessary fields
Color Palette
Each template comes with a few preset color palettes that you can choose from to make your webpage look more vibrant and presentable.
However, you can always customize the colors and pick a combination that works best for you and your brand.
To pick customised colours for your webpage, scroll down to Theme Colours. For each of the three categories, click on the colour box and pick the colour either manually or copy-paste the HEX code of the color that you wish to add to your webpage.

All the changes you make to your webpage will appear in real-time on the right side of the screen. This helps you get a preview of what the webpage will finally look like.
Once you have selected all the colours and you are happy with the final look, click on the Save button. If you wish to go back to the original settings, click on Reset Colors.
Reorder Listings:
Lastly, you can even customise how your offerings appear on the webpage (your homepage). There are three options to choose from - Basic Default Categorization, Categorizing them on the basis of Custom Keywords, and Customizing them as per their Offering Type.

Basic Default Categorization
When you select this option, all the offerings will be listed in the order of their upcoming slot dates. However, you can move these offerings, and bring up the ones you want to highlight by using the toggle on the extreme right.

Custom Keyword Categorization
Create custom keywords on the basis of which you can further categorize the offerings.
Click on the Add Listings button to pick the offerings for a specific keyword category.
You can add and manage multiple keywords, and then choose which offering will be listed under which category.
There are two check boxes that can optimise your listing page.
You can choose to show the listing type on the card
If you have plans you can also show them above all other listings to prioritize them.

Categorization as per Offering Type
Categorize your offerings as per the offering type i.e., segregate them into one-on-one appointments, group classes, packages, workshops, and more.
In the same categorisation, you can also choose to segregate them in keywords by checking the box at the end of the screen.
Now that you have made all the changes and saved the progress at each step, you can either choose to look at the Preview once to review all the details, images, and text, or you can simply go ahead and update the changes.
Was this article helpful?
That’s Great!
Thank you for your feedback
Sorry! We couldn't be helpful
Thank you for your feedback
Feedback sent
We appreciate your effort and will try to fix the article