What is the use of creating custom variations?
Creating multiple custom variations for a single offering is a savvy strategy that allows creators and businesses to cater to the diverse needs and preferences of their audience. By presenting tailored options for an offering, you can effectively maximise the value they provide.
For example, if you want to provide the same offering for 1 month, 3 months and 6 months - you can simple create a variation of that offering with varied prices instead of creating 3 different offerings.
Offering customised variations not only enhances the overall customer experience but also opens up additional revenue streams. Customers who may have been deterred by a one-size-fits-all approach are more likely to find an option that aligns with their specific goals, learning styles, or budgets. This increased relevance can lead to higher conversion rates and customer satisfaction.
Read this easy-to-follow guide on how to create Custom Variations on Exly in an efficient manner. You can create these variations only for Quick Payment Pages (QPP) or Flexible Classes type of offering:
Step 1: On the Creator Tool page, scroll down to the Create/Edit Offering menu on the left side.
From the Live Offerings page, select the offering for which you want to create an order bump for.
Click on the three dot menu next to the Share button of the offering and select Manage Offering option.
From the screen that opens, select the Custom Variations card by clicking on Create and Manage Variations.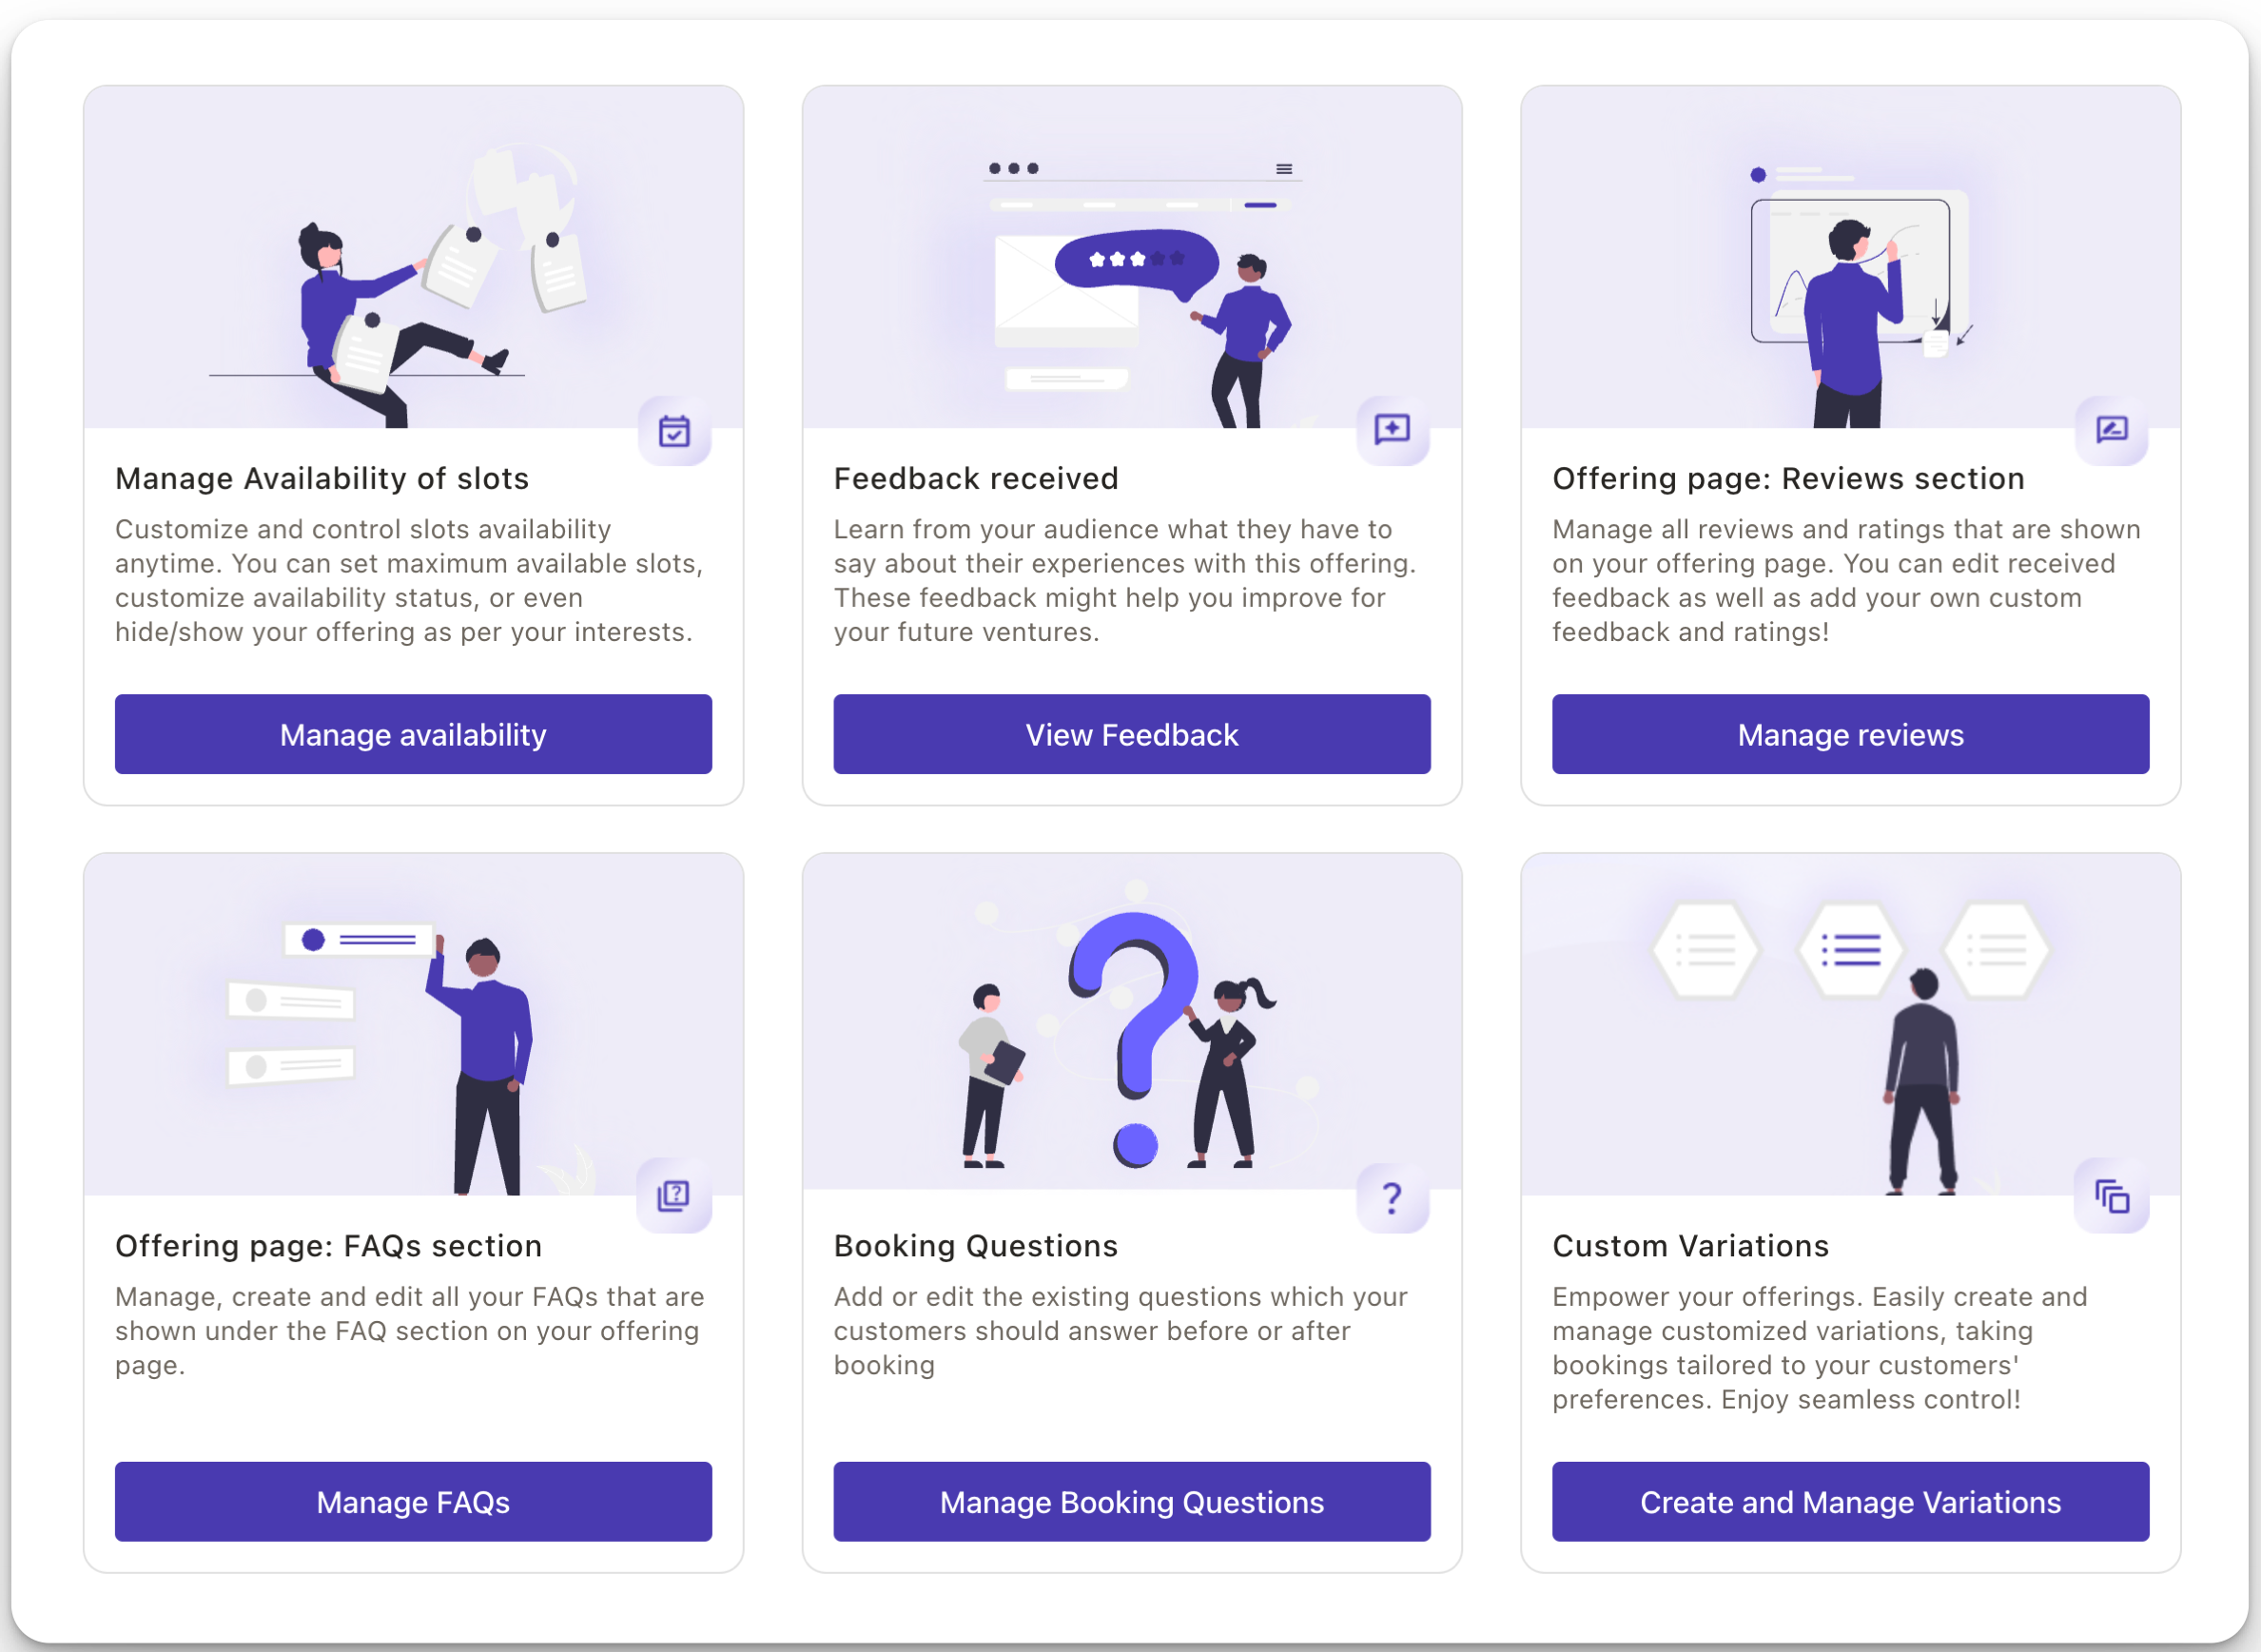
Step 2: An empty screen should open if this is the first time you’re creating a variation for this offering.

You’ll have to toggle the enable variation option to be able to view and create variations. Enabling this will make all variations visible on the offering's event page when the customer is making a booking. All variation will be displayed in a dropdown and customers can choose a variation as per their interest and requirements.
Step 3: Once you enable the variations, you can view the once offering as default - this is the offering you’ve originally created.
To create a new variant, click on Create Variation.
A form will pop up where you have to add the the new variation’s Title, Price and the duration of the subscription plan.
The duration of this new variant cannot exceed the default variation’s duration.

Add all the information for the new variant and click on Create Variation.
To check if the variations have been added successfully, copy the link of the offering and open it in a new tab.
On the offering page, the lesser price of all the variants will be shown. The user can select which of the variant they want to pick efficiently.
Similarly, this offering with variations will also be showcased on your main webpage, with the lowest of all variation prices on display. This will attract more customers to visit your offering!

Was this article helpful?
That’s Great!
Thank you for your feedback
Sorry! We couldn't be helpful
Thank you for your feedback
Feedback sent
We appreciate your effort and will try to fix the article